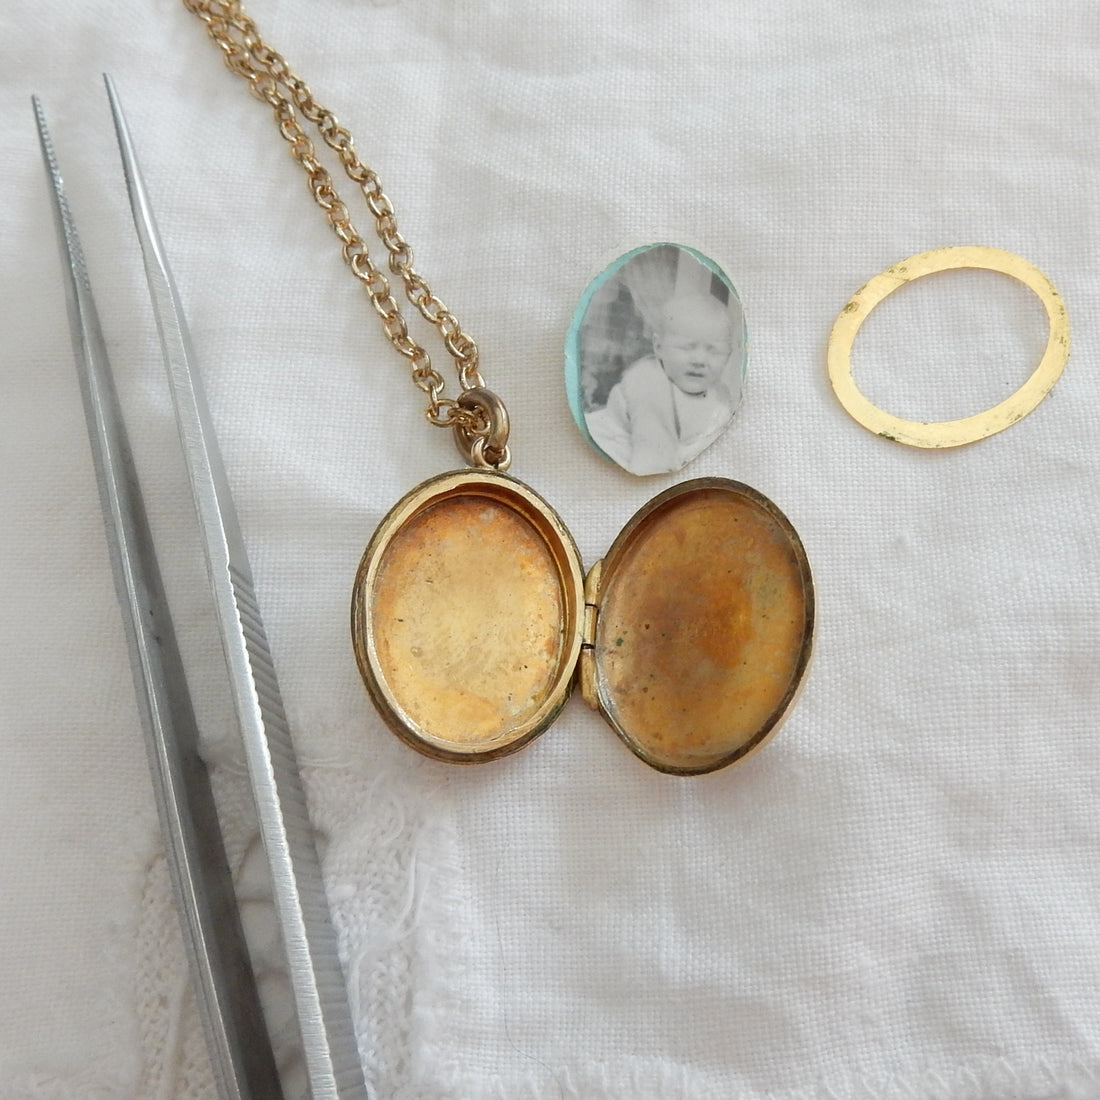
Placing a photo inside a vintage locket requires patience, attention to detail, and a few essential tools. This guide will walk you through the process of fixing a photo inside your vintage locket, preserving both the locket's beauty and the memories it holds.
1. Choose the Right Locket: Select a locket that suits the size and a style you would wear. Vintage lockets have hinged doors with a space for placing a small photo inside. It is important when choosing your locket that you ensure the locket opens easily and securely.
2. Gather Materials:
- Your chosen locket
- Your printed photograph
- Clear adhesive (glue suitable for photos I recommend PrittStick)
- Tweezers (optional)
- Microfiber cloth
3. Prepare Your Photograph: Print your photograph on high-quality photo paper. The photo should be sized to fit comfortably within the locket's frame. Trim the photo if necessary. If you do not have a printer at home or are unsure on how to scale down your photo go to your local photo print shop and they will be able to help. Digital print shops which I recommend include Prontaprint, Snappy Snaps or a large supermarket such as a Tesco Extra.
4. Clean the Locket: Use a microfiber cloth to gently clean the locket's interior and exterior surfaces, removing any dust or debris. This ensures a clean and clear space for your photo.
5. Apply Adhesive: Apply a thin layer of clear adhesive to the back of your photograph. Avoid using too much adhesive to prevent excess glue from seeping out when you place the photo inside. I usually find a little dab of Pritt Stick does the trick!
6. Carefully Position the Photo: Hold the locket in one hand and carefully position the adhesive-covered side of your photo within the locket's frame. Use your other hand to press the photo down gently, ensuring it sticks evenly.
7. Smooth Out Air Bubbles: If any air bubbles form under the photo, gently smooth them out using a clean fingertip or the flat end of a tweezers. This step ensures a smooth and even appearance.
8. Let It Dry: Allow the adhesive to dry completely.
9. Optional: Add a Protective Layer: To protect your photo from moisture and wear, you can apply a thin sheet of plastic quite often the vintage lockets come with this sheet still intact.
10. Reassemble the Locket: If your locket has multiple parts, carefully reassemble them once the adhesive and protective layer are completely dry.
11. Final Touches: Use a microfiber cloth to gently wipe the exterior of the locket to ensure it's clean
12. Wear and Cherish: Once your locket is fully assembled and the photo is securely in place, wear it with pride and cherish the memories captured within. Your personalized locket is now ready to accompany you on your journey.
Click here to view our full collection of vintage lockets


